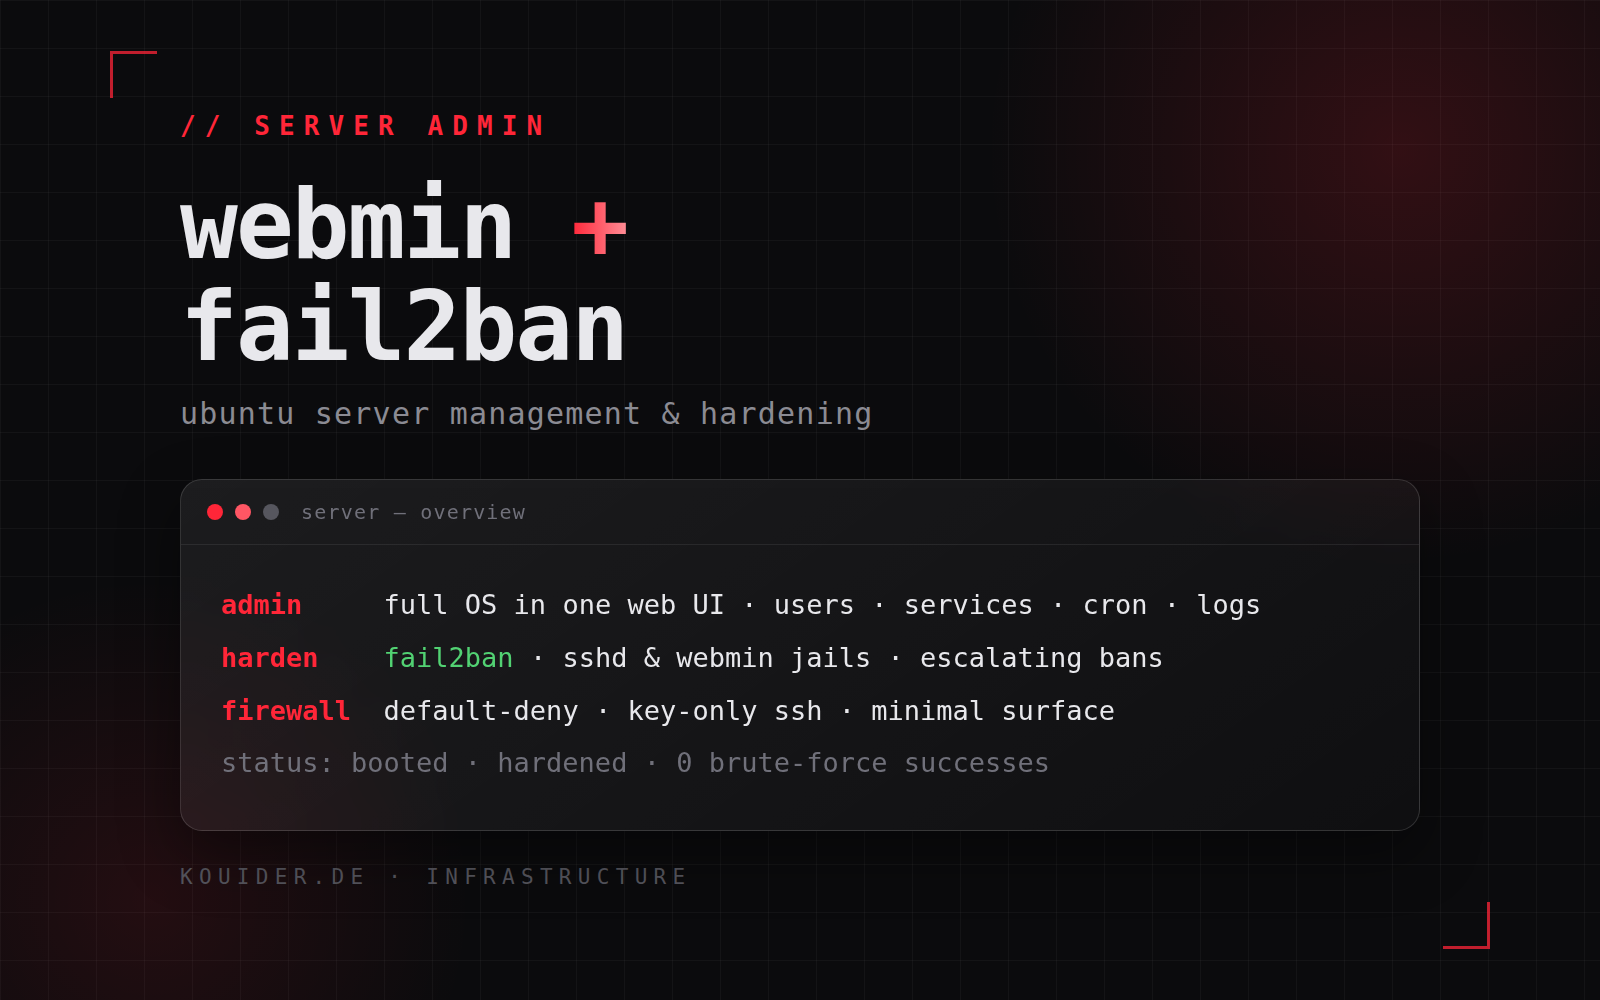
Webmin is the management layer of my Ubuntu servers, and Fail2Ban is the first line of their defence. This post covers what that stack is and the knowledge behind it — not a tutorial, just how I think about server administration and hardening.
Webmin — full OS administration in one UI
Webmin administers an entire Ubuntu OS from the browser: user accounts and permissions, the APT package lifecycle, systemd services, scheduled jobs, firewall rules, log files and monitoring. One dashboard across every server, instead of SSH-ing into each box for each task. Everything it touches maps to standard OS tooling underneath, so nothing about it is proprietary or lock-in — it’s a front-end to the same tools I’d use from a terminal.
Fail2Ban — log-driven intrusion prevention
Fail2Ban is my answer to brute-force attacks: it reads authentication logs, recognises repeated failed attempts (SSH, and a custom jail for Webmin’s own login), and responds by blocking the offending source at the firewall. The interesting part is the policy design — per-service jails, retry thresholds, ban windows that escalate for repeat offenders, and whitelisting for my own administration IPs so I never lock myself out. It integrates directly with the firewall backend (ufw/iptables), so a ban is a kernel-level block, not an application-level rejection.
Hardening — layered, not single-point
Fail2Ban alone is not enough. The servers sit behind a layered policy: SSH with key-only authentication and root login disabled, a default-deny firewall with only the ports that are actually needed, management interfaces reachable only from my administration addresses, and a controlled update cadence that keeps security patches applied without breaking running services.
Outcome
The stack has been running in production for months: zero successful brute-force logins, every service visible and manageable from one place, and administration reduced from terminal sessions to a few clicks. It’s the baseline I apply to every Ubuntu server I deploy.